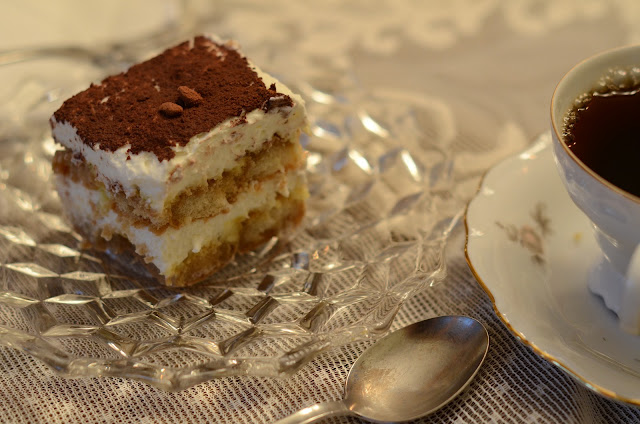
It was heaven. On plate. To be eaten with a fork. Without or without a crown on.
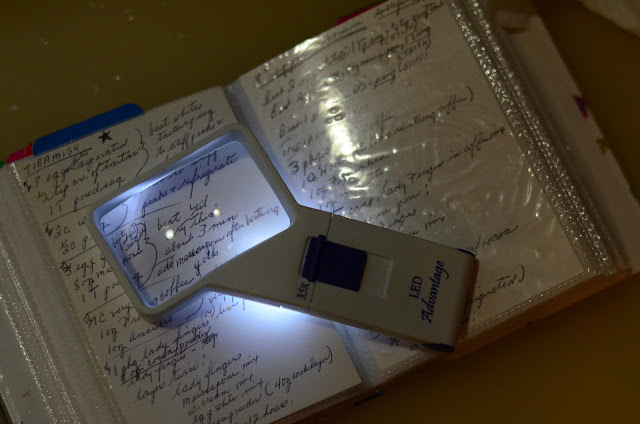
I had recently discovered tiramisu at some Italian place and fell head over heels in love with it. The recipe that follows is what I believe to be a combination of several recipes that my Gram used to come up with this one.

This perfect one.
And if you follow it in order, you only need one mixing bowl...and you don't need to wash it out in between steps! Fabulous.
Alright...first, you've gotta whip your (room temp) whites:

When they start to look frothy, like in the photo above, add the cream of tartar and the powdered sugar and beat until stiff peaks form. This stage seemed similar to the consistency of shaving cream, to me.

Plop it in a bowl and toss it in the fridge to keep cool.
Next up...the whipping cream. (Side note: Did you know that today's whipping cream isn't like it used to be? Apparently there is stuff added to it and it's not like it used to be. Fer dumb.) Whip it until it starts to get t'ick (that's how we say "thick" in MinneSOOOOOOta..."t'ick") and add the powdered sugar.

Plop this into a, separate, bowl and toss in the fridge to keep the whipped whites company.


You don't need to plop this in a bowl, just toss the mixer bowl into the fridge so the yolk can party with the cream and the whites.
Now for the fun stuff...
:)
Make yourself a strong cup of coffee...my gram uses this bad boy:

To make an incredible cup of strong coffee. Yum.

Add in the booze with the coffee and try to refrain from gulping it down right there.

Get your ladyfingers all ready to dunk (as in, "out of the package") and then WORK FAST!! Just a quick dunk'll do...like this: (Real time video)
Too long in the coffee/booze bath and your ladyfingers will fall apart. Tragic.
Then, it's time to assemble...first the dunked ladyfingers, then the yolk/cheese mixture, then the whipped cream, then the whites then dust with cocoa powder. Repeat x1.

After the second layer is complete, dust the top with cocoa powder and chill it for 10-12 hours.

That's the hard part...THE WAITING. But it is sooooooo worth the wait!

Note: We ran out of coffee bath stuff...so, I'd maybe make a smidge more. Gram says that's never happened to her before, but better be safe than GAH I RAN OUT OF COFFEE AND BOOZE!! ;)
Gram's Tiramisu
Printable Recipe
3 eggs-separated
1/2 + 2 T. powdered sugar
1/2 tsp cream of tartar
2 c. whipping cream
1 8 oz. package Mascarpone cheese
1 c. very strong coffee
1 oz. Amaretto
1 oz. Frangelico
1 14 oz. package ladyfingers
Cocoa powder to dust
Step 1:
Beat room temp egg WHITES until frothy, then add cream of tartar and 1 T powdered sugar and beat until stiff peaks form. Place in bowl and set in fridge for later.
Step 2:
In same bowl beat whipping cream until starting to thicken, then add 1/2 c. powdered sugar and continue to beat until very thick.
Step 3:
3 egg yolks, beat until foamy, then add 1 T. powdered sugar and mascarpone and beat until very thick, about 3 minutes.
Step 4:
Combine coffee and liqueurs in small(ish) container and quickly dip ladyfingers in. Immediately after dipping one ladyfinger, place it in 9x13 pan for first layer of Tiramisu (they ladyfingers will get a little soggy, so don't rush this step!). After one layer of ladyfingers in complete layer with 1/2 egg yolk mixture, then whipping cream, then egg white mixture, then dust with cocoa powder. Repeat layers one time starting with dunking the ladyfingers.
Step 5:
Chill for 10-12 hours, slice and enjoy!


You are absolutely AMAZING for sharing this :D
ReplyDeleteHave a wonderful weekend!